We used a variety of technology objects to create this preliminary task. The below picture states the tech used:

Camera Shots
Firstly, we used camera shots - which I had previously blogged about - to create the tension of the first take of the preliminary task.


We had used the idea of the cut-in to help the suspense as we cannot see the character yet and only the fact that she is trembling which already makes you tense. The use of the mid-shot was again to create tension because we still didn't want to see the face of the first character but also, to set the scene as the audience don't know where this is. Maybe because the layout of the scene wasn't clear enough that made the task very 'drama piece' like and didn't have this dramatic effect. Finally, we see this short sight of the offender which is more of a mid shot to close-up which has a bigger effect than the other shots because we see the face clearly.


Our second take of the preliminary task we only used 2 different types of shot and it was much clearer on how we made it. We used a mid-shot (the 2 top pictures) but in different angles and a close-up (the 2 below pictures) but in different places.
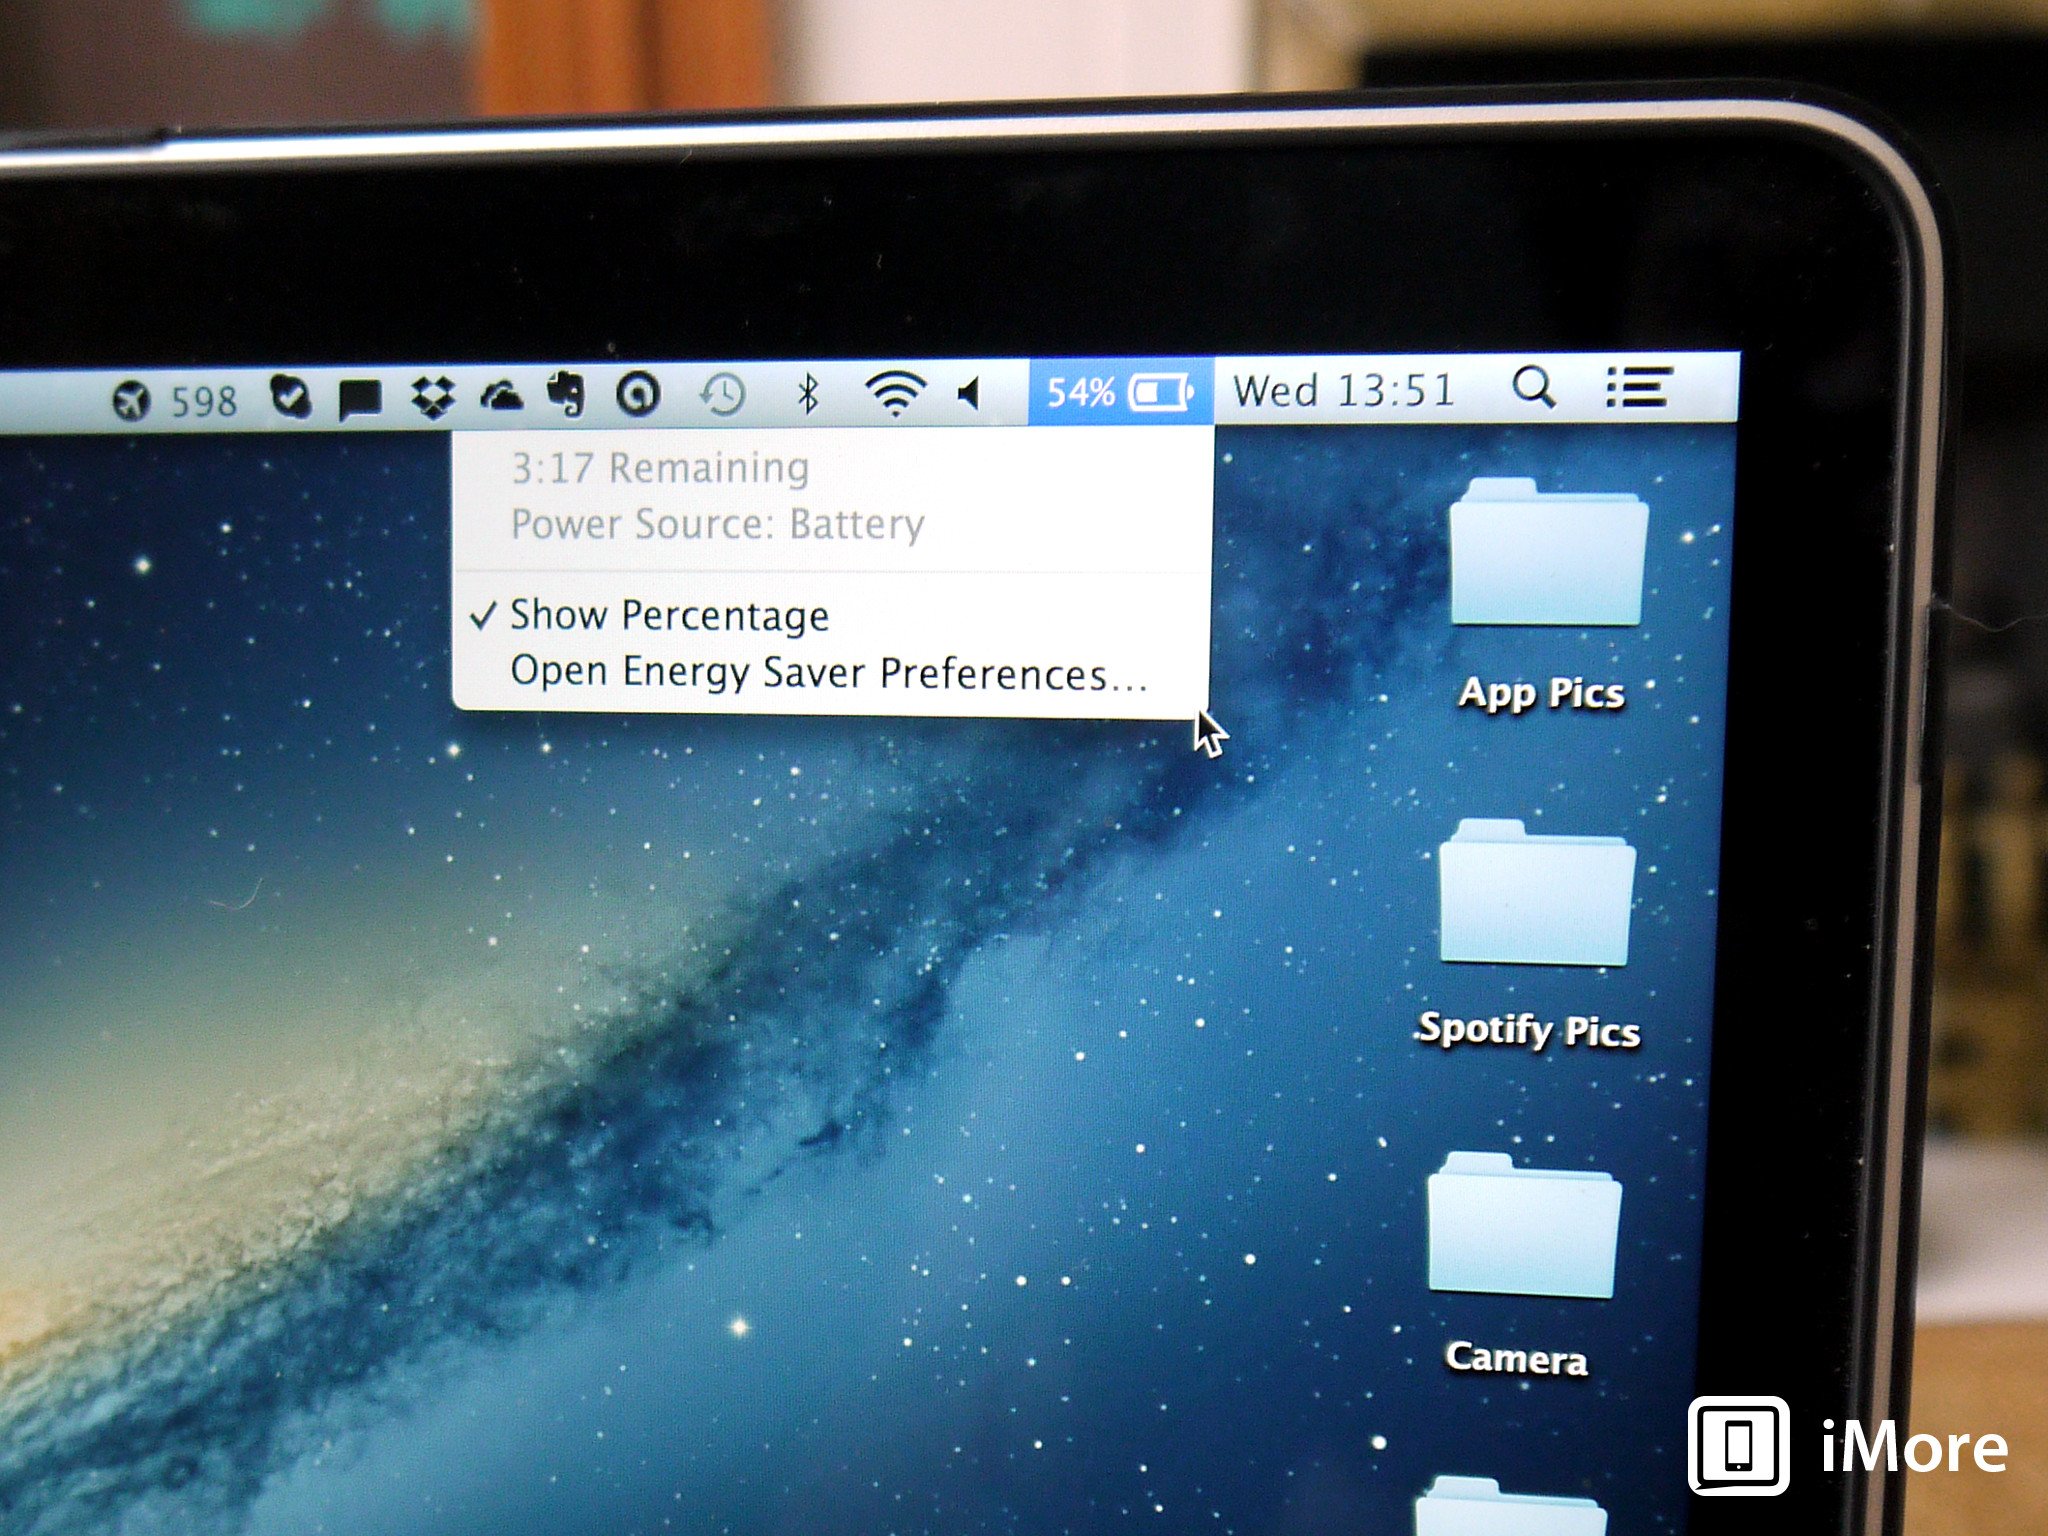
Final Cut Pro
I learnt alot about Final Cut Pro and the techniques such as: cutting video clips, renaming clips, reversing a clip, how to create credits and rendering it.

This was more of an exploring task, we had a brief from our teacher about cutting which was useful then we were set to do it our own way and to explore Final Cut Pro and it's short cuts.
Use of Apple Software
We had to use and learn about the apple software as it is different to what I have at home (windows).

I learnt the use of the 'cmd' button and what to use it with to copy, paste, cut etc...

Also, apple is different with the way it is presented. With Apple software, the tab on the top is used for the files, programs and copying and paste as well but on Windows you use the 'start' button or icon to get all your programmes etc...
Exporting Videos onto Pro Res.
We not only learnt about the Apple software but we learnt about exporting video to 'Pro Res' format. Final Pro Cut uses many formats of videos but 'Pro Res' is the best format as it puts the videos onto the video list efficiently. So by using converting videos from MP4 (or anything else) to Pro Res, we can start our editing quickly.
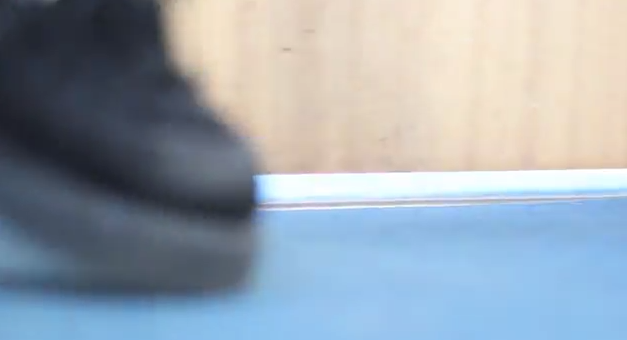
Linking Footer To Header/Continuity
By linking the footer to the header we can achieve continuity. In the first edit, we didn't achieve continuity as everything was off balance and in the second edit, we had made it clear that she was walking towards people.


Match On Action (see Theory Post)
Effective Lighting
The first take of the preliminary task consisted of lighting which was one thing that we wanted to do. When the voices and people are present we wanted it to look very dark and when the officer was there we wanted it to be light (seen in the pictures below). To do this we had a chance to play around with the lighting board.


Using YouTube to find instructions
To understand how to reverse the clip which we did between 1:05 - 1:07
We had to use this video to help us reverse the clip
No comments:
Post a Comment